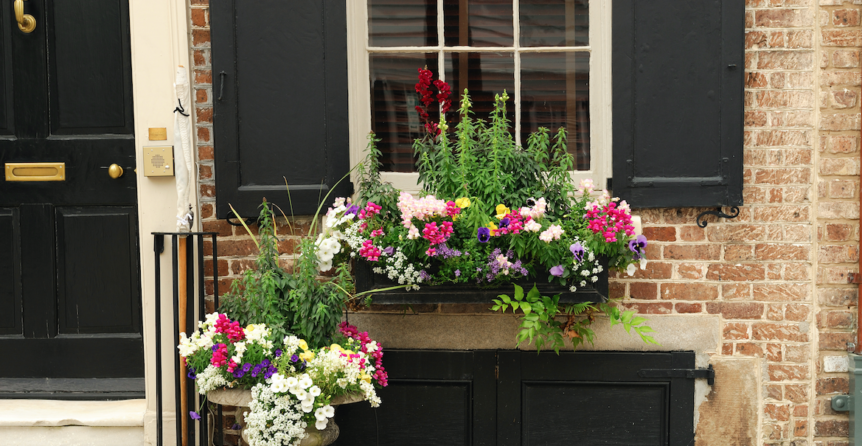
Window boxes look beautiful. Whether you attach your box to a window facing your garden or the street, the flowers (or vegetables) will brighten up your property and add colour to your home.
But how do you plant a window box? And what are the best types of flowers to use? Here’s a guide with the steps you need to follow.
Choose Your Plants
First of all, you need to choose the plants you want to grow. Beautiful flowers will look stunning underneath any window, and many plants will be perfectly happy in a window box.
However, some plants will not bloom all year around. You might want to start by choosing some permanent plants to ensure your window box looks great throughout the seasons. You could then mix in some annual flowers to change up the display during the year.
The first thing to consider is: will your window box mainly be in the sun or in the shade? For a sunny area, something like helichrysum petiolare would work well. Pelargonium is also nice, as is ivy.
For shady areas, ferns are pleasant, and fuchsia ‘Marinka’ works well. Cyclamen is also a good option for the winter.
You should also work out whether it is exposed or sheltered. A window box in an exposed place will mean more wind, which takes moisture out of the air, so this will be more suited to plants that are happy in dry conditions.
One final thing to consider is whether you would prefer to grow herbs and vegetables in your box. If your box is to go outside the kitchen window, it could be useful to have some herbs handy when you are cooking.
You can find out more about the best plants for window boxes here and here.
Step-By-Step Planting Guide
Step 1:
First, choose your window carefully. Make sure it has good access from both inside and outside. This makes it easier to water and tend to the plants, otherwise you might end up neglecting them.
Step 2:
Measure the windowsill where you will place your box, and make sure you buy a window box that fits perfectly.
Step 3:
Next, choose your box. Wooden boxes are a good option, and they are usually better than metal or plastic because they provide better insulation from both the heat and the cold. Because light colours reflect heat, you might want to paint your box white.
Step 4:
Install the hardware to hang the window box, and then hang the empty box below the window to see how it looks. If you need to make adjustments, it is a lot easier to do at this stage.
Step 5:
Hang up the empty box and insert broken terracotta pots, called crocks, over the bottom. These will prevent the drainage holes from becoming blocked.
Step 6:
Choose your plants, then arrange them inside the box, keeping the plants in the pots.
Step 7:
Once you are happy with the arrangement, knock the plants out of their pots and place them in position, filling in the gaps using compost.
Step 8:
Firm the plants down slightly, but not too much, and give them a good watering.
Caring for Your Plants
Once your plants are in the window box, make sure you look after them properly. This will involve caring for them on an almost daily basis.
They might need watering every day, especially during the summer, so give them enough water to make the soil moist without drenching them. You might also want to add some liquid fertiliser to the water about once a week.
Care for the plants in your window box properly, and you will enjoy the beauty of your plants every day as they brighten up your garden and home.


